So, I said I would share the recipe for the pumpkin pie. I found it at this site. I find this website to be a good resource; I refer to it a lot regarding "you-picks" and for canning tips.

Please don't judge me for not making my crust from scratch. ;-) I seldom make a crust I like, probably because I don't have a food processor (that pulse, pulse, pulse would make it so much easier) - I don't even have a pastry cutter! So... I didn't feel like fighting with it and copped out.
The filling, however, was all scratch. You heard about that wonderful home-grown pumpkin in an earlier post. I also went to the co-op for fresh spices: cinnamon, nutmeg, cloves and allspice.

My just-add-cold-water pie crust ready to roll out.

Mmmm... ready to mix. "Umm, why did I use such a shallow bowl. If I use the hand-mixer on this, I'm going to spray the cupboards!"
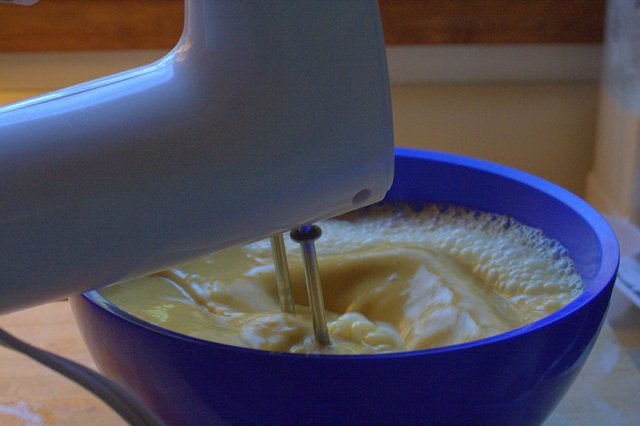
Transferred to a deep one.

Good tip from the source... put the pie plate on the oven rack and THEN pour the mixture into it. This ensures you won't have to get out the mop after you get the pie to the oven.

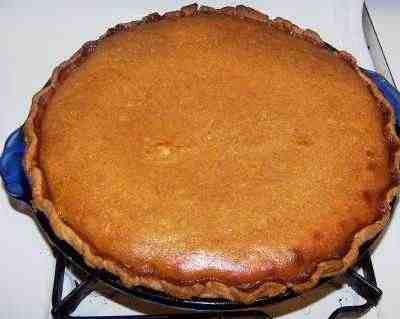
"You look beautiful... please come out that way." I added foil to the crust so it would burn.

Mmmm, looks delicious! Too bad it didn't quite meet the expectations. I'll try again with some modifications to the recipe. Here are the instructions from the Pick Your Own website.
But first, what I would change: less clove and allspice than they recommend. For us, it was overwhelming. Also, they say that this recipe accounts for the wetter consistency of the fresh pumpkin, but I still think in the future, I'll try to drain out some of that excess moisture with a sieve and cheese cloth (or maybe even a coffee filter would work). I'd let it sit for several hours and just let that liquid seep out to try to achieve a firmer pumpkin-mash. Otherwise, here it is, copied and pasted from their site, the same as is linked above:
(Skipping to Step 9 because Steps 1-8 described methods for cooking the pumpkins to get the 3 cups of mashed pumpkin)...
Step 9 - Mix the pie contents
All the hard work is behind you! Here's where it gets really easy. If you start with a fresh 8" pie pumpkin, you will get about 3 cups of cooked, mashed pumpkin. Th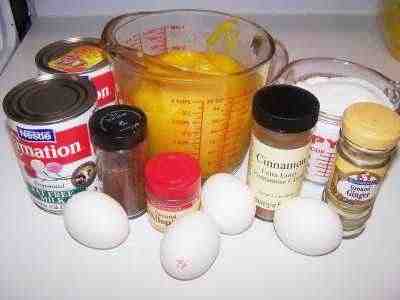 e right amount of ingredients for this is as follows:
 - 1 cup sugar (metric: 300 grams). Instead of sugar, you could use
honey (use 1.25 cups),
natural sugar (1 cup),
agave (1 cup),
brown sugar (1 cup),
Stevia (1/3 cup) or
Splenda (1.25 cups).
If you are using artificial sweeteners (Splenda or Stevia) you'll find that they taste prettty good, but you'll get better results when you do a 50-50 mix with sugar or honey. And diabetics, you can use Stevia or Splenda alone, in place of sugar and get pretty decent results. - 1.5 teaspoon ground cinnamon
- 1 teaspoon ground cloves
- 1 teaspoon ground allspice
- one half teaspoon ground ginger
- one half teaspoon salt (optional, I don't use any)
- 4 large eggs
- 3 cups pumpkin glop (ok... "sieved, cooked pumpkin")
- 1.5 cans (12oz each) of evaporated milk (I use the nonfat version) (note for those in France: evaporated milk in France is called "lait concentre'"; "lait evapore'" is powder)
- 1/2 teaspoon of vanilla extract (optional) (metric: 20 grams)
Note: You may substitute 4 teaspoons of "pumpkin pie spice" instead of the cinnamon, cloves, allspice and ginger. But I think you get better results with the separate spices.
Note: The vast majority of people tell me this is the best pumpkin pie they've ever had. It's light and fluffy - however... if you want a heavy, more dense pie, use 3 eggs instead of 4 and 1 can of evaporated milk instead of 1.5)
Step 10 - Pour into the pie crust
Some people like to bake the pie crust in the oven for 3 minutes before filling it. I don't and the pies turn out great!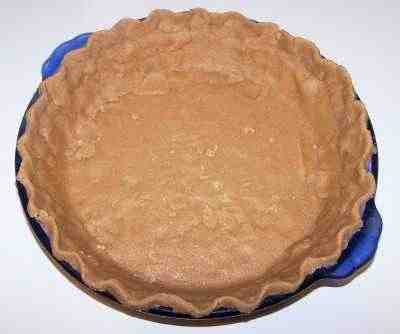 I like a deep, full pie, so I fill it right up to about one quarter to one half inch from the very top.
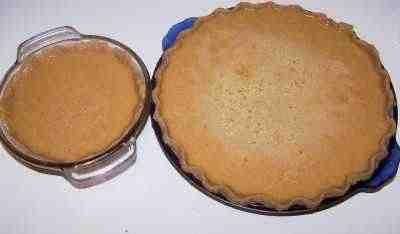
Don't be surprised if the mixture is very runny! It may start as a soupy liquid, but it will firm up nicely in the oven! Note: the pie crust is brown because I used whole wheat flour! Tastes the same, but is healthier.
TIP: If you put the empty pie crust on your oven rack, with the rack slid partially out, you can fill it there and avoid making a mess while carrying the pie to the oven!
TIP: What do you do if you end up with more filling than will fit in your pie crust(s)? Easy! Of course, you can make another, smaller pie crust and fill a small pie pan... or just grease any baking dish, of a size that the extra filling will fill to a depth of about 2 inches (see the photo at right), and pour the extra filling in.. then bake it. It will be a crustless pumpkin pie that kids especially love! You can also use it in making pumpkin muffins or pumpkin bread!
TIP: You may want to cover the exposed edges of the crust with strips of aluminum foil to prevent them from burning! Some people make their own crust cover by cutting the rim off of a disposable aluminum pie pan!
Step 11 - Bake the pie
 Bake at 425 F (210 C ) for the first 15 minutes, then turn the temperature down to 350 F ( 175 C ) and bake another 45 to 60 minutes, until a clean knife inserted into the center comes out clean.
Here is the finished pie, right out of the oven:
I use a blunt table knife to test the pie. The one at left has already been stuck in the pie, and you see it comes out pretty clean, when the pie is done.
Step 12 - Cool the pie
And enjoy!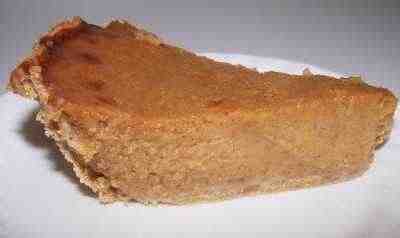 Warm or chilled, with whipped cream , ice cream or nothing at all - it's great!
You can even freeze the pie after cooking it. I just lay a piece of plastic wrap (cling film) tight on the pie, after it cools down, then pop it in the freezer.
Later, I take the frozen pie out of the freezer, put it in the fridge for about 24 hours, and then either heat it in the oven (350 F for about 15 minutes; just to warm it up) or the microwave for a few minutes.
No comments:
Post a Comment